
I’ve been snapping photos as I’ve been working on the 50 Olds, but I haven’t posted any of them in a while. Consider that remedied!
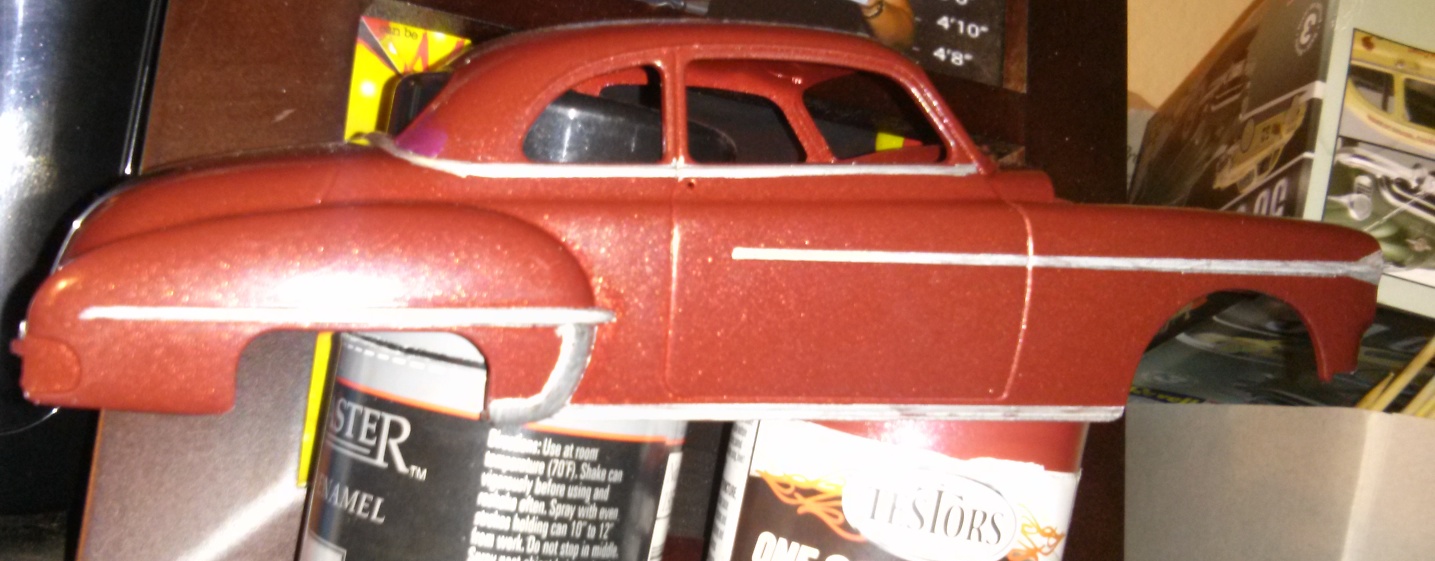 When we last left our hero, he had just completely fucked up an otherwise near flawless paint job on the ’50 Olds Coupe
 with incompetent usage of Bare-Metal Foil
. That pissed him off quite a bit. He soldiered on, even knowing it wasn’t going to be as perfect as he had hoped. Here is a fairly good representation of the state of the car once the trim was painted with basic Testors Metallic Silver
instead.
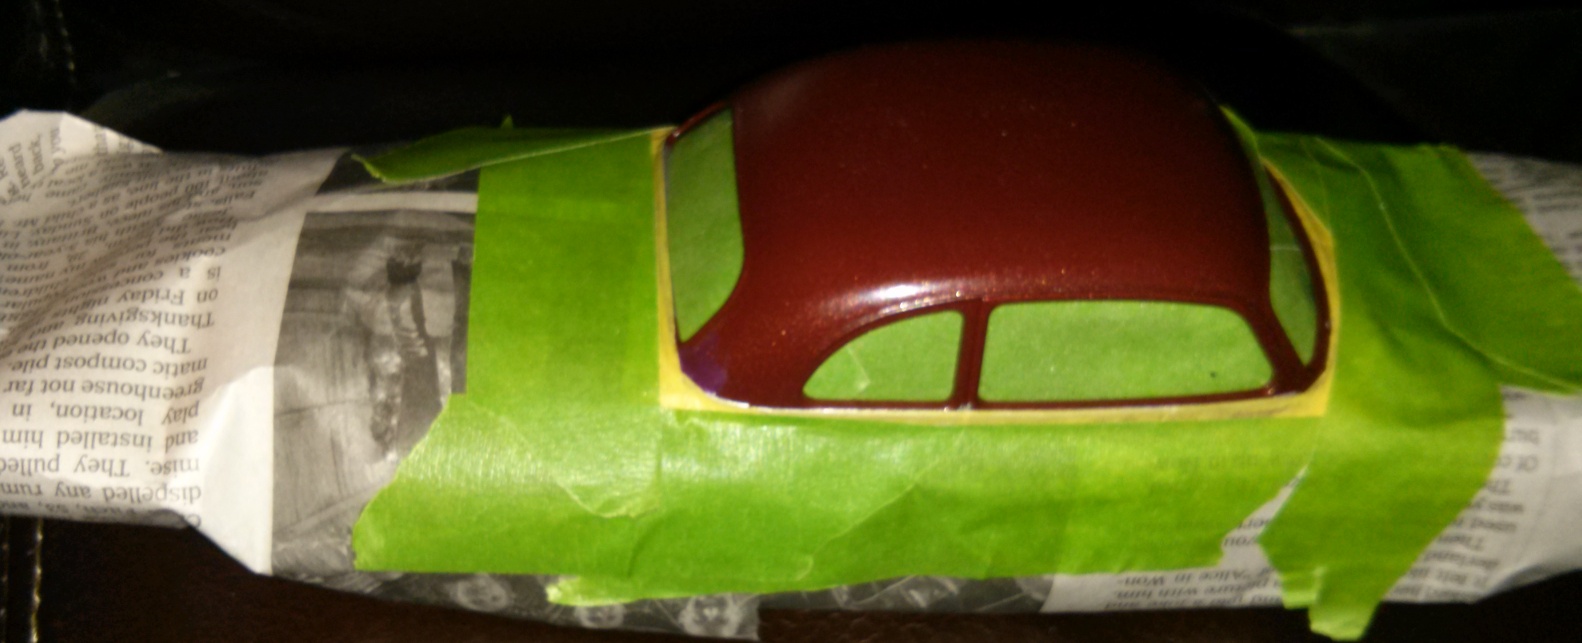 Largely due to the knowledge that the body was already pretty fucked because of gouging issues in the current paint, I decided to go ahead and take a crack at the two-tone finish that I had previously decided against. This is an ill-advised way to go about this. When I decided to tackle it, I already had multiple coats of paint in place as well as the trim already painted. I used Tamiya Tape
 to follow the curves of the molding and then used FrogTape
to hold the newspaper to the body, as well as using it to block the windows to keep from getting gloss black on the interior.
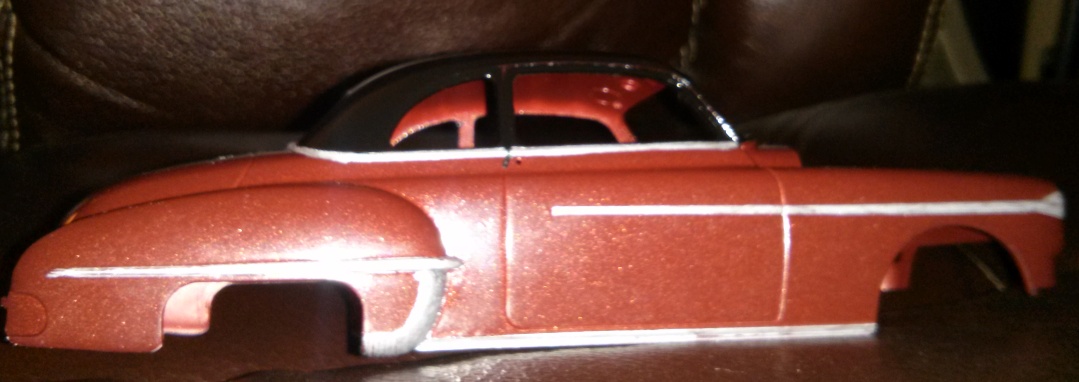 Using the tape on the inside probably wasn’t strictly necessary, but I didn’t want to have to try to maneuver sandpaper around on the inside of the car to remove the gloss before I paint it to match the interior. Here you see the finished product. I later used a brush to touch up the areas around the door edges where the black didn’t completely coat over the original maroon, and I had a bit of a bleed issue where the tape wasn’t applied well enough at the top of the door trim, but otherwise it came out very good. It’s hard to tell from the photo, but that top has a mirror-like sheen to it and it really helps to draw the eye away from the
 horrible fuck-ups imperfections in the maroon body paint.
Next I went to work on the engine. This kit advertises 135 pieces. While I’m not going to count them all to see if that is accurate, what I do know is that there are about 25 of them that go into the engine (not counting decals).
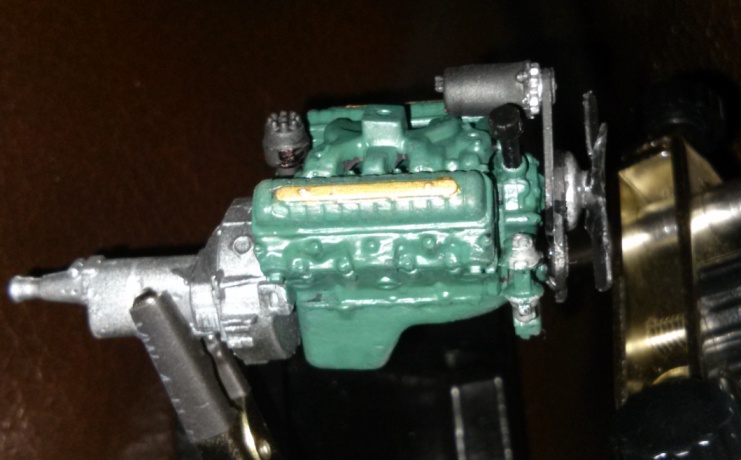
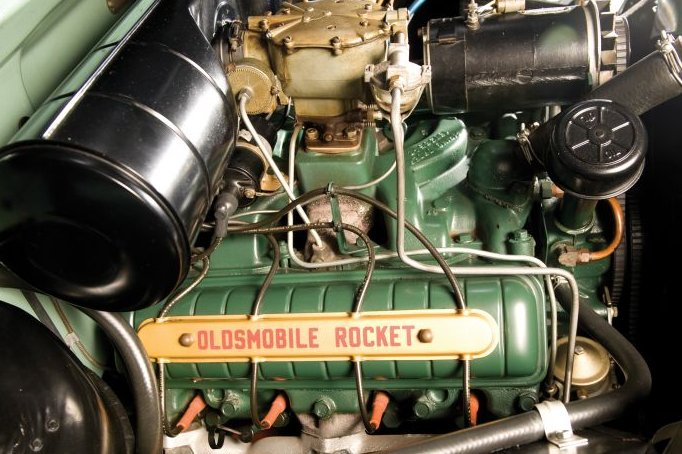 When I initially looked at the engine components, I was a bit confused as to how they all went together. I’m used to a more standard 350 type motor with a short Quardajet carburetor and the intake/carb setup on this one didn’t look anything like that. To make sure I was assembling it properly, I sought out photos of a restored 50 Olds for comparison. That motor is pictured here to the right. The other oddity about it is the air filter. That big black cylinder on the firewall side of the motor is the air filter. Again, I’m more used to seeing the frying pan type air filter in older cars, so this one took looking at to understand.
 In an attempt to make the transmission look a bit more realistic, I bought some Aluminum Metalizer
 and Gun Metal Metalizer
to paint it. With the parts already primed, and after taping off the engine, I used the aluminum to paint it first. After that dried, it looked a little too smooth for my liking, so I took the gun metal spray, held the can at about 18 inches away and hit it with one very light dusting to give it a bit of texture. The result was quite appealing. After that, I slapped together the major engine components, painting them after assembly to hide the seams (the green, that is. Things like the belts, pulleys, etc. were painted still on the trees). It came together nicely. It isn’t nearly as bright a green as the image would suggest, but just like the body paint, it simply won’t photograph in a reasonable shade.
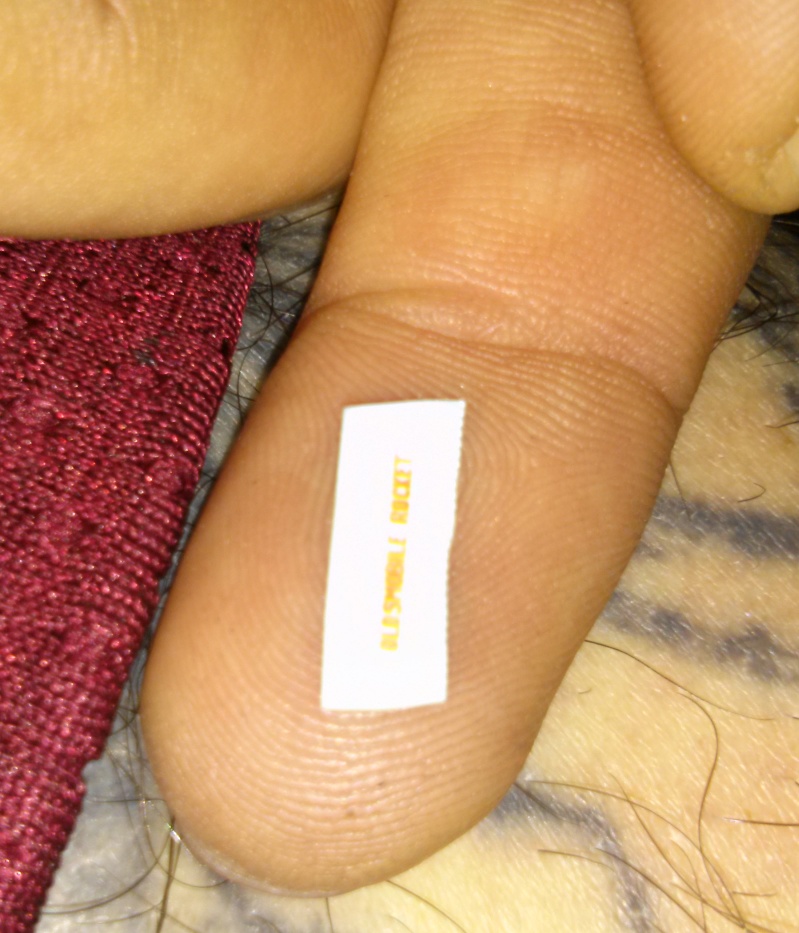 In the last photo, you’ll note that I still had some work to do touching up the paint on the distributor, intake and belts. I put that off while I assembled the rest of the it. This kit is fairly detailed, including such parts as a starter, oil filter and ignition coil which also needed to be placed. In addition to that, it also boasts some of the smallest decals I have ever seen. In the photo of the real car engine above, you’ll see the words ‘Oldsmobile Rocket’ painted on the gold strip on the valve covers. To the right you’ll see the decal to replicate that on the model. It’s resting on my fingertip. I cut the strip from the decal sheet about three times the size of the actual decal so I could grab onto it with some tweezers to get it into the water and back out. For an idea of scale, you can see my leg hairs, the faded blue ink from a horrible prison tattoo and the maroon fabric of my shorts also in the picture. I mean, this thing is small.
 When I finished with the painting and assembly, I started placing the decals. I was sure happy I bought a 6-Piece Stainless Steel Tweezers Set
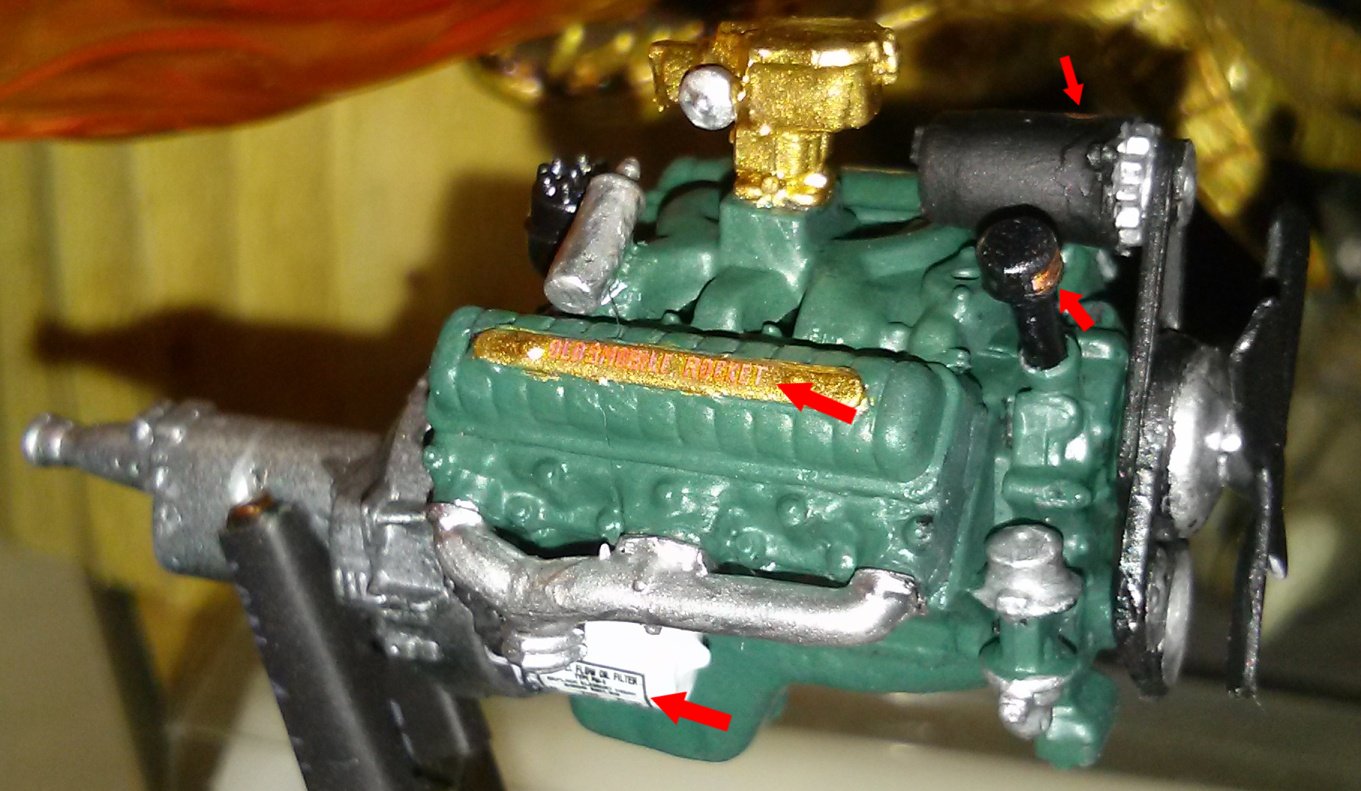
 to handle them. I really like this particular tweezers set because they are all stainless, come in a variety of sizes and have two different sets that can lock to hold things in place. One of those simply work backwards from normal tweezers (at rest, they are closed, you have to pinch to open them). The other locking set has a small pin in it that you slide toward the tip to lock them in place. Both have been invaluable for this model. Here you will see the finished engine with the decals in place. I have put some arrows on the image to highlight the four decals visible from this angle. There appears to be a haze over the decals, but to the eye they are crisp and bright. I applied these under a magnifying glass so I was sure I had them right-side up and was quite surprised to see that the camera managed to capture the text on the oil filter.
As an aside, I’d like to know who came up with the step numbers for these model kits. This kit has 135+ pieces but is divided into only ten steps (I think it’s only 9 for the stock version). I don’t even think Ikea furniture averages fourteen pieces per step and people constantly clown on them for making difficult to assemble products (as another aside, I never understood that. I’ve never had a problem assembling anything from Ikea, nor do I personally know anyone else who has). I think it must be the same guy who decided that there needed to be six Vitamin B’s, despite the fact that there are twenty letters of the alphabet without a vitamin assigned to them. Better yet, since it has now been shown that a Rubik’s Cube can always be solved in 20 face turns or less, that would be less than two steps according to the guy who numbers model kits.
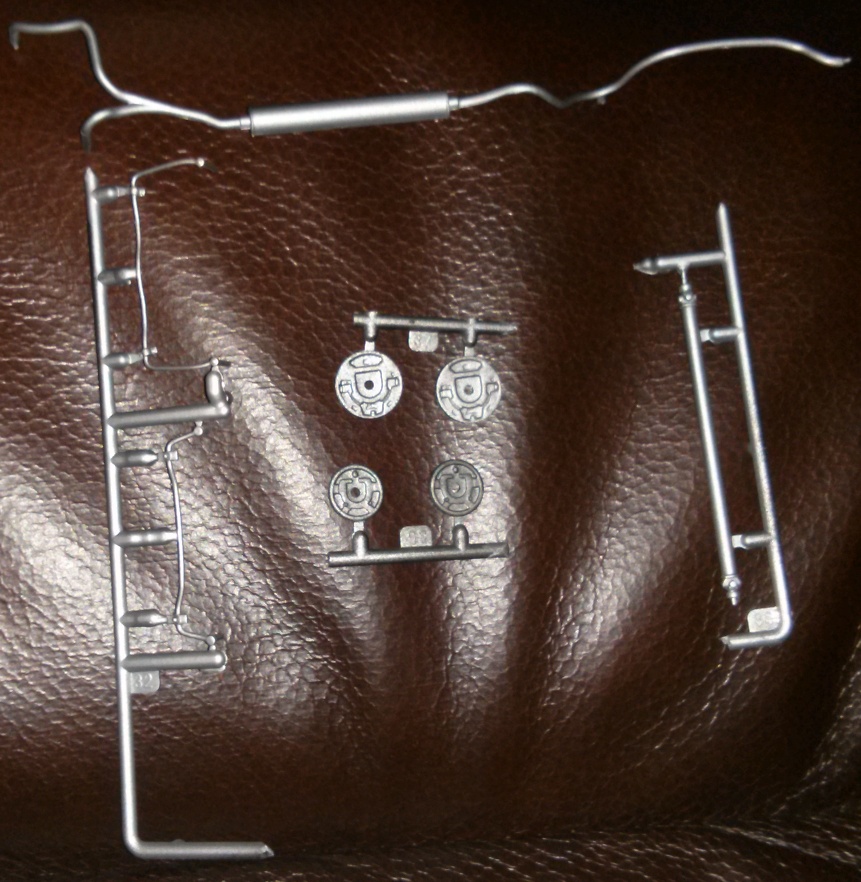
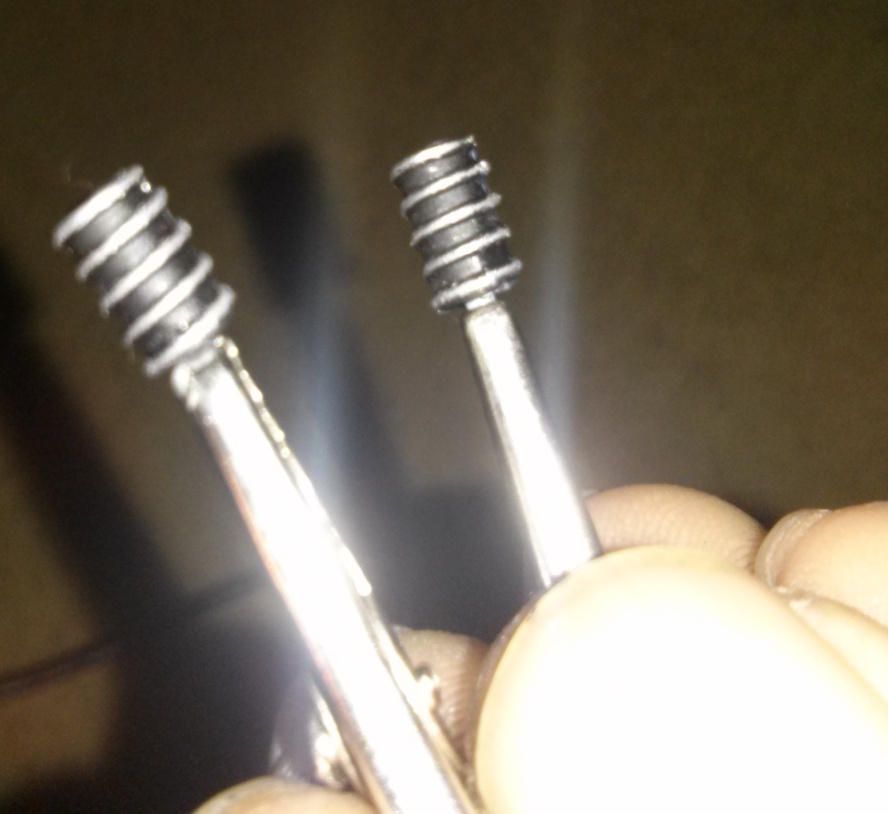 One thing I can say as I get older is that I learn way faster than I did when I was younger. I don’t mean that my brain absorbs information faster or anything like that, more like I don’t forget mistakes and am more apt to remember serendipitous events. Such was the case when I went to work on the chassis of the model. My short experience building these things has taught me that modeling glue will quickly strip paint. When I started to work on the shocks, which were primed in black, I used that knowledge to my advantage. I put a dot of modeling glue on the tip of my thumb and rolled the coil of the shocks through it to strip away the primer. Once the primer was gone, I was able to use a dry brush technique to get silver on the coils without any of the paint running into the black portions in the center. Was stripping the paint first necessary? For me it is. If I attempt this without first stripping the paint, it will bleed onto surfaces where I don’t want it because the finish is the same. Once the finish is stripped, it only goes where I want it to: the stripped area.
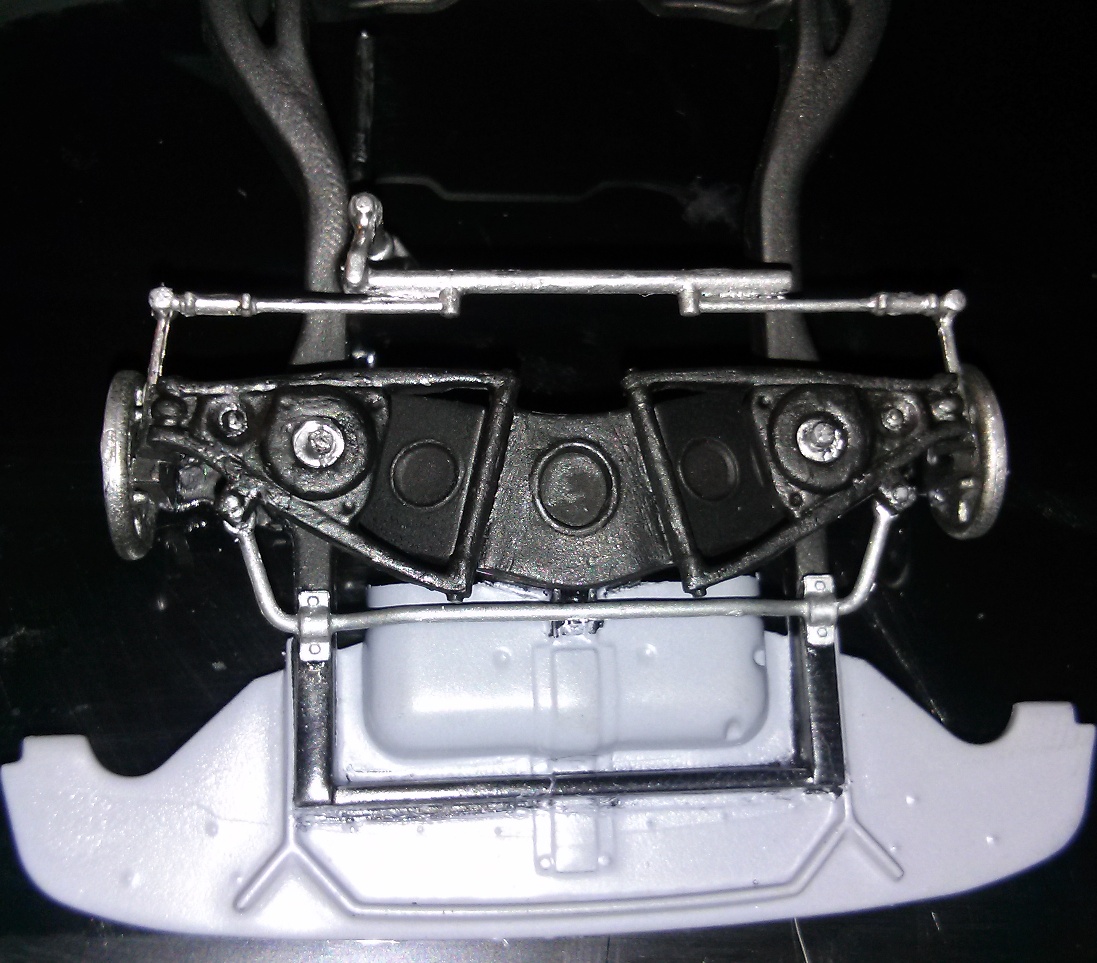 I used a variety of paints to finish the front end of this thing: metallic silver, grey, flat black, semi-gloss black, aluminum metalizer, gun-metal, gun-metal metalizer and Model Master Schwarzgrau
 The last of those is also the color I used for portions of the interior. I didn’t follow the instructions for which colors to apply or where to apply them, instead I combined my knowledge of cars, a bit of common sense and a touch of artistic license to come up with something that looked more like one would expect the underside of a car to look than all semi-gloss black as the instructions suggested. The result was pretty good, but I did get too many layers of paint in a few places.
 Here’s another view of the assembled front end with a focus on the suspension. You’ll note that the paint stripping and dry brushing really paid off on the shocks. The tie rods, linkage and stabilizer look like you’d expect. You can almost imagine that the parts can move. They can’t, of course, but you want them to look like they can. I’m quite pleased with how well the front end of this one turned out. I only hope I’ll be able to bring the rest of it together just as well. After this, I had to take a break after working on it for a few hours to let parts dry and my eyes rest.
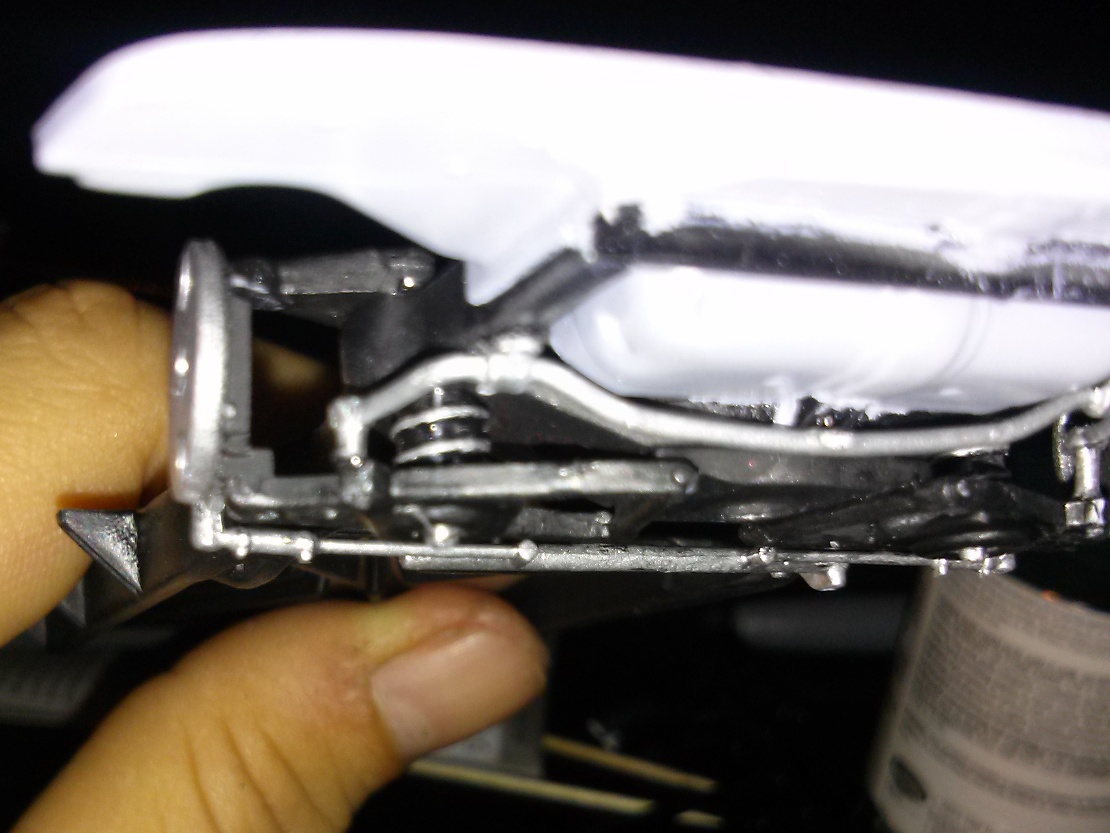
 While I was painting the transmission earlier, I used the same metalizer paints mentioned above to finish other components for the underside of the car. One of my biggest annoyances with the GTX model was how cartoony and fake the exhaust looked. Using the aluminum metalizer, followed by an extremely light dusting of gun metal, I was able to get this one to look almost like a real exhaust system. The problem now is that it just looks a little too good. I don’t think exhaust pipes look this good even on brand new cars. Next time, I may add a bit of brown in splotches before painting it with the metalizer to see if I can get some hints of rust to show up. Or, who knows, maybe I will screw something else up along the way and serendipity my way into a better finishing technique.
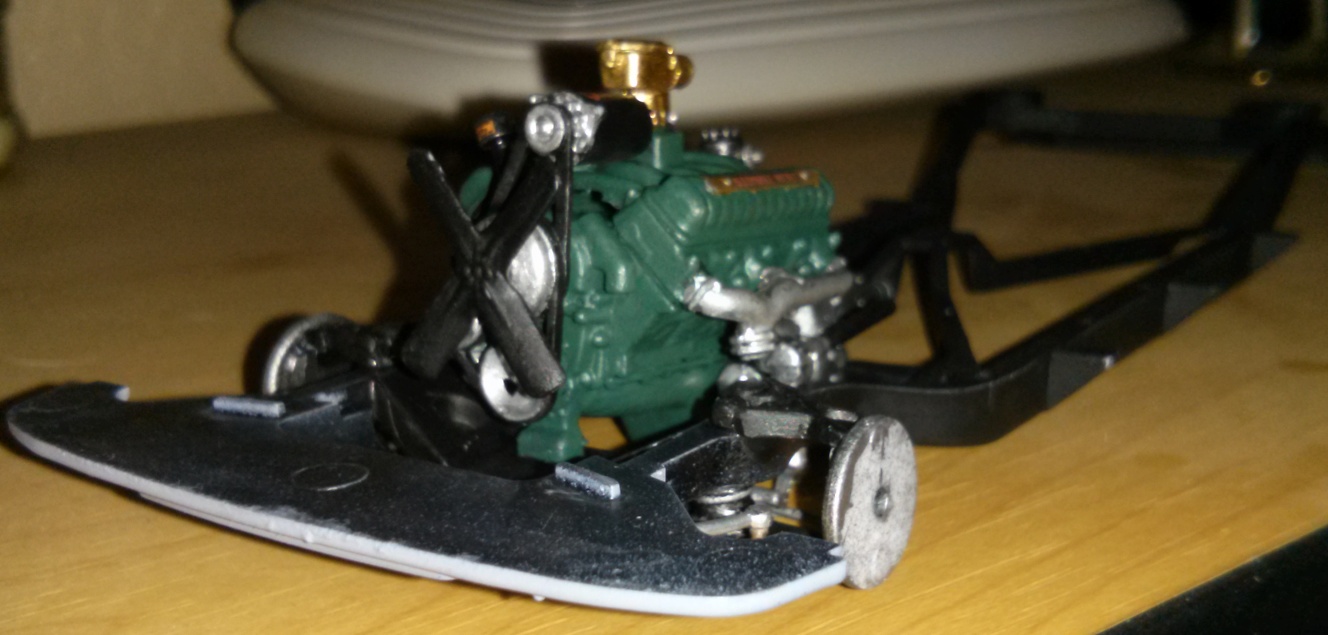 The last thing I did before putting the frame aside was to mount the engine. I’m gong to need this to be good and dry before trying to route the exhaust because test fitting shows that it doesn’t line up quite as well as you’d want it to. It’s going to take some tweaking to get it connected. This isn’t an issue with my building of the model, but the kit itself. Even before putting the engine in place, the exhaust didn’t line up.
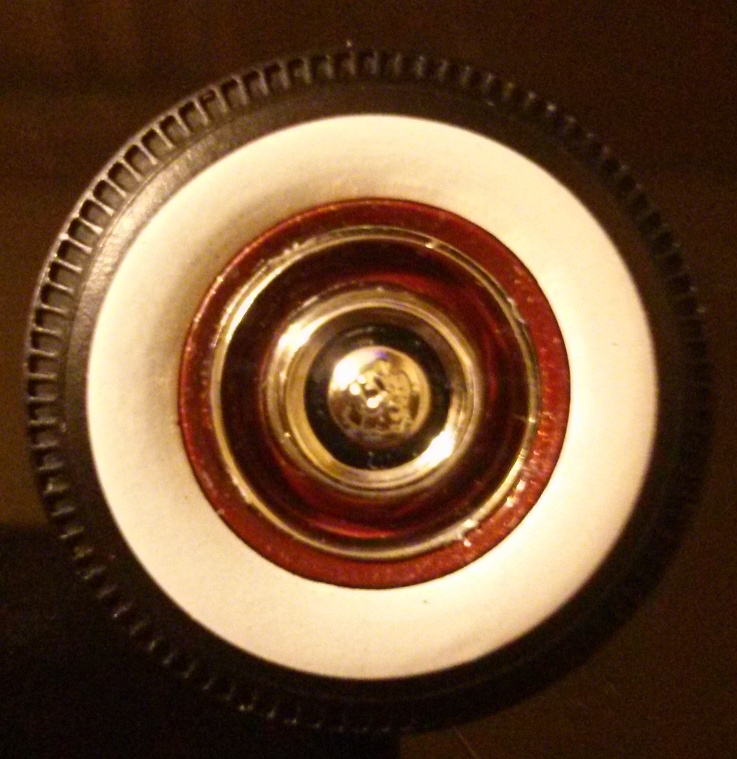 I had also painted the wheels when I painted the body, and was curious to see how they were going to look. I skipped ahead to step seven and put one of them together. The wheel is four pieces total (plus the tire and the pin) with two making the wheel (painted maroon) and a chrome ring and hubcap. This is what one of them looks like assembled. The tires in this kit are nice. They came in a separate bag and don’t have any molding marks on them. I didn’t have to sand, trim or otherwise modify them in any way to get what you see here. That part, at least, should be easy.