
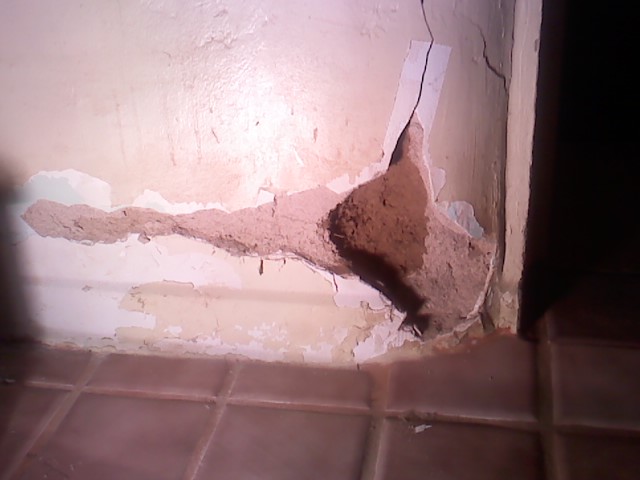
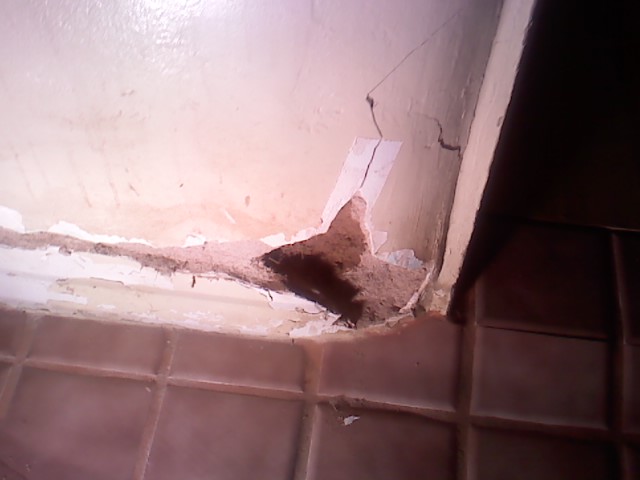
 The only real downside to living in a mud house that was built in 1894 is the occasional huge fucking chunk of the house falling off bit. Now I don’t know just how familiar you are with adobe, but it really is just dirt and water, so when a little chunk of it falls off, there is nothing keeping the rest of it from following along because, well, dirt tends to fall with nothing to hold it up. On either side of the text you can see what it looks like when a huge fucking chunk of your mud house falls off (downward angle to give an idea of depth, it goes back about three inches on an 18 inch thick wall). In this case the huge fucking chunk had fallen off one time before and someone had attempted to patch it with some sort of bonding agent and drywall tape, which, of course, didn’t hold (now for extra credit. A bonding agent is a type of glue. Drywall tape is a fabric tape that has tiny little threads running through it for strength. So, tape with threads and glue. Pretty much the same thing as duct tape, eh?). So it fell off again all as one huge piece and it has been leaking dirt out -hourglass style- ever since. Every time I walk by the damn thing it reminds me of just how lazy I am; here I see my house falling down around me but I am just too damn lazy to do anything about it.

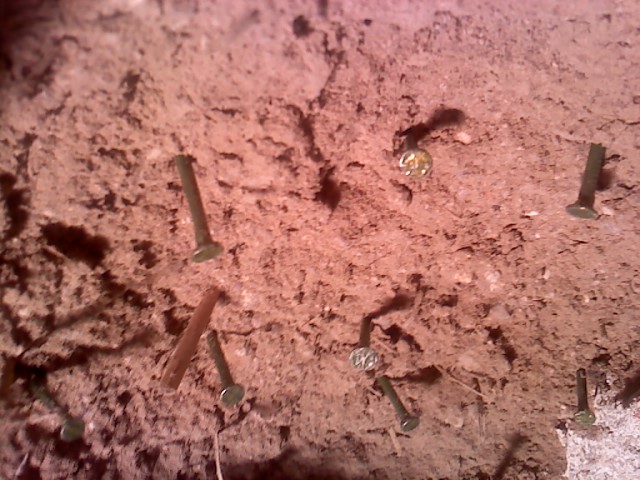 So today while I was out and about I decided to take care of this once and for all. I bought some Rocktite concrete patch (I would have to buy another 25 lb before the project was complete), matched up some paint, and bought some assorted nails. The nails were because I figured if I were to hammer some nails into the opening at all sorts of different angles it would keep the repair from falling out as one big chunk. I have no idea if that is going to work or not, but what it looks like is to the right there. There are about twenty nails driven into the hole at all sorts of angles, I can make out eight of them in the picture there. And once I had the nails in all I had left to do was fill in the hole.
 The repair after that was pretty straightforward. All there was to do was put layer after layer of the patch into the hole, taking care to not do more than three-quarters of an inch or so to each layer -this type of stuff has a tendency to crack as it cures if it is too thick. I was scared as hell that I wasn’t going to be able to pull this off after I started to put the first layer in. It was difficult to get the stuff to stay in the hole and it kept falling out. I made a terrible mess out of the floor before realizing that the easiest way to approach it was to wait fifteen minutes after mixing each batch -right until it was nearly set- to apply it to the hole. I was leaving myself only two minutes or so to get it in, but I already have experience in that (Hoy-O! I’ll be here all week!) To the right you can see what it looked like after I had all the patch in but before it was sanded and painted. I encourage you to look at this one full size and marvel at just how bad it looks.
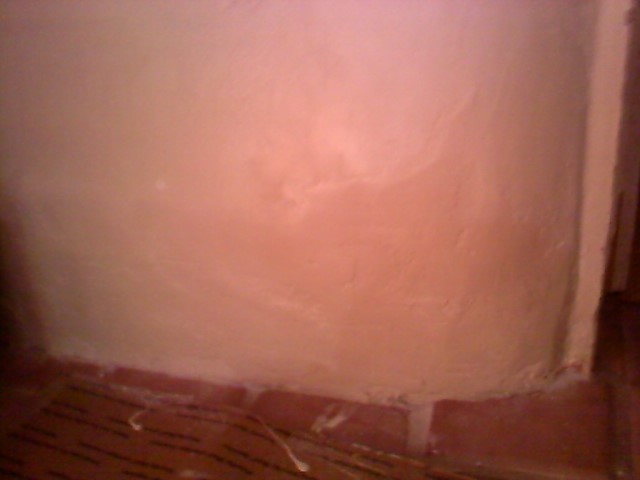 Finally this is what it looks like after having been sanded and painted. I have no idea why this picture came out so red, it doesn’t look like that in person. This hasn’t been cleaned up yet either, so you can still see a lot of the patch around the floor. It also isn’t completely dry (the patch or the paint) so you can tell where the repair was made. Because the adobe walls in the house are not smooth -multiple textures, but also different repairs have left a lot of scarring- I didn’t spend a whole lot of time trying for perfection here. The idea was to get it sealed up before the rest of the mud leaked out. For the amount of time I put into it I think it looks pretty good. I’m sure I could have gotten smooth as a bowling ball if I was willing to put a couple hours into sanding it, but that would also require something more than the little orbital sander I have and that is just way too much time and effort.
Incidentally, at the same time as this repair I was also working on another repair of exactly the same type but one that involved a corner near our restroom. That one did not go nearly as well as this one did. I had to basically rebuild the bottom 12 inches of the wall with concrete patch which Im sure will hold just fine, but the trouble was in trying to square off the corner. Hard as hell. But again, the primary objective is structural integrity, not vanity -or so I tell myself so that I won’t just sob myself to sleep tonight.