I had initially planned to take copious photos of the PC build to put up here with lengthy descriptions of the PC building process. I did take some photos, and I am going to talk about specific parts of my particular build, but NewEgg has a 3-part video series on PC building that covers everything in much more detail than I ever could:
Part One covers the parts that you will need to buy before taking on the project. Unless you have never taken the sides off of a PC tower it doesn’t really offer much in the way of new information.
Part Two Is where they cover the actual assembly of the components. I kept this one up on my screen as I was putting these things together just to make sure I wasn’t missing anything. It is quite informative, and is definitely a recommended view for first timers.
Part Three Covers installation of the software in your new machine. This also isn’t something that will be a great deal of use, but it does cover the subject well, so is worth watching -especially for first time builders.
 My particular circumstance was this: I wanted to build a pc for about 800 bucks. That changed after I had ordered a pair or video cards and a pair of power supplies (as was detailed in a previous post). With the video cards, power supplies, and cases in hand, my mission changed from building one 800 dollar PC to buying the rest of the components to build TWO reasonable gaming systems for under 1000. I did it, but barely.
The previous post has the exact specs of what went into it, but I will sum it: Rosewill Gear X3 cases, Rosewill 600 watt power supplies, Intel BOXDH67CLB3 motherboards, Intel core i3 2120 processors, Radeon HD6850 video cards, Team Elite 8gig (2×4 gig) RAM, WD Caviar Blue 500GB HDDs, ASUS DVD drives, NZXT fan controllers, Rosewill CPU cooling fans (there were a lot of complaints about noise and vibration with the stock fan for the i3-2120), 1x140mm fan and 5x120mm fan per system, and finally, Windows 7 Home Premium. That all tallied up to $731 per system after delivery charges. Not a bad price for what it is, I think. And it looked like you see here before I started the build.
It was pretty intimidating to look at. While you can’t really tell in the photo, that all took up a huge chunk of my living room. I had planned on waiting until the weekend (my day off) to start putting them together, but I wanted to start getting the place dug out, so I opted to start working on them after I got home from an 11 hour shift on Wednesday night (they are all 11 or 12 hour shifts, so no biggy).
The first external build went together pretty quickly:
As you can (maybe) see in the photo, I did the full, powered external build on the first system (although I had the power supply disconnected and the 6-pin power removed from the GPU before I thought to snap a picture). The only reason I went so far as to power it up externally was because I had bought such a random mish-mash of components that I wanted to make sure they actually would work together. When I got around to building the second one I still put the CPU, CPU cooler and RAM into it externally, but I didn’t do a full, powered external build. Now a note about the particular Intel board I was using (all Intel boards?): The boards came with an electric system speaker hard-wired to the motherboard -and no system speaker header-. I was thanking the stars that there was no system speaker header though because in the process of googling the location of it, I found out that the Intel board had done away with the single post beep. If I hadn’t known that bit of information I’m sure I would have freaked right the fuck out when it didn’t make a sound at power up.
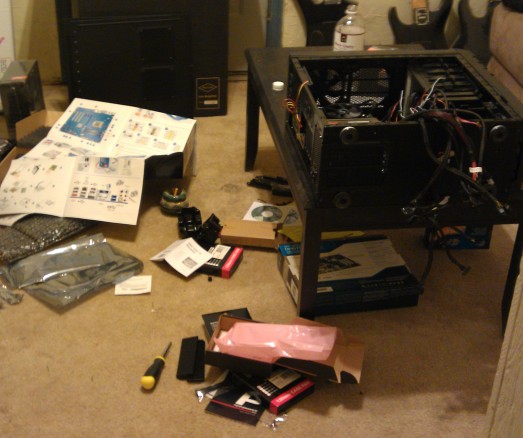
The workday being 11 hours and the drive each way being an hour, I really only had an hour and a half or so to work on this on day one (and opening all the boxes probably accounted for at least half an hour of that). That led to leaving the first system, not to mention the living room, in a state of complete disarray. The following photos should be pretty clear evidence of that:
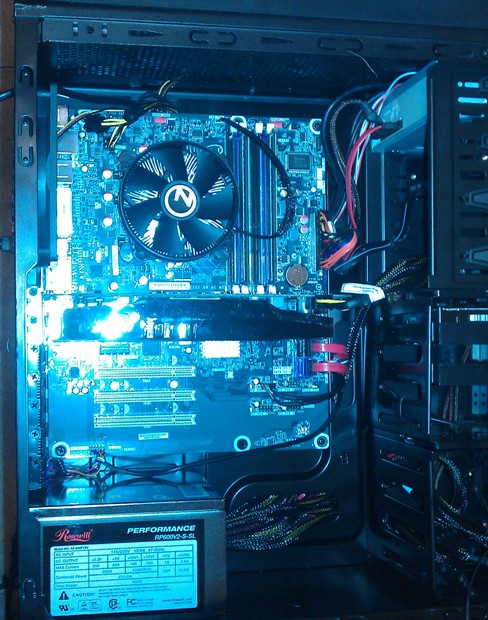 When I started on night two (another hour and a half or so to work on it) all the components were in place (except the fans), and I just had to get everything wired up, and said wires put away. I did this exactly wrong. I thought that the way to go about it would be to run the big ass power wires all around first, then fit the little ones in where I could. While this ultimately did work, it meant having to feed the wires for the front panel, the SATA cables, the fan wires, pretty much everything, over the top of the big ass cables that were already in place. Once I had it all hooked up, the result of that was that the cables were sticking so far out of the cable-corraling side of the machine that it took a good deal of force to get the side on. So while you may see a nice clean machine here on the right (except the extra power cables all gathered up below the drive bays), the back was a huge fucking mess. It was bad enough that, even though I made it through the Windows install, driver installs, and windows updates on the second day, I would go back the next day and reroute all the cables. I mean, I may want to add or remove a component at some point and if I opened up that mess I’d probably have to kick my own ass.
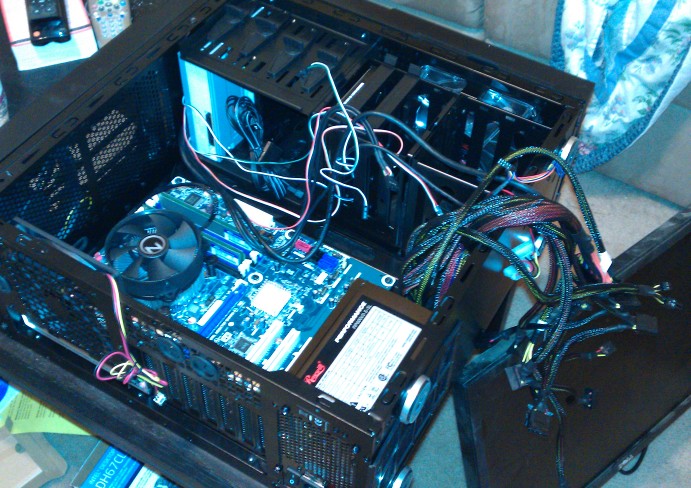
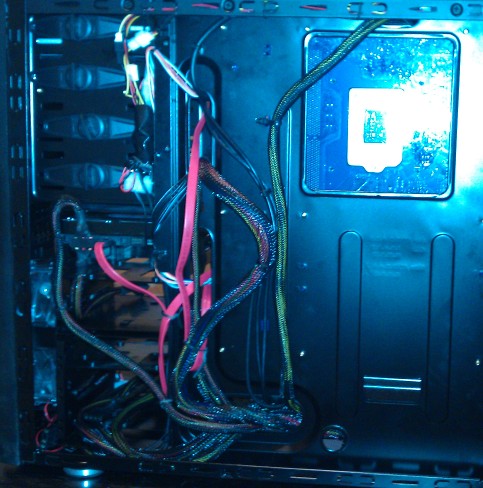 Unfortunately I didn’t take a picture of what it looked like before I re-worked the cables and this photo doesn’t do a lot of justice to just how well the wires are actually secured. As you can see, the big, braided power supply cables are the real hard part to hide. In this photo there are four fan cables, the USB 2.0 front panel cables, the HD audio front panel cables, a USB 3.0 passthrough cable, and all 6 (well 4, but 6 pins) of the power, reset, LED, and HDD LED cables running from the front panel to their destination, and aside from the big-ass, white molex mess near the drive bays (the fan controller came with 3 pin connectors, the front fan had a molex connector, so I had to use a 3-pin to molex converter to hook up the front fan. And since there are six fans and only 5 slots on the controller, and since the headers on the motherboard are conveniently 4-pin [none of the fans had such a connector] I had to add two additional 3-pin to molex converter to wire together the two top fans [because I didn’t have a 3-pin splitter and there is nowhere to get one in a town of 3000 people at 3am]) all you can really see is the braided power cables and the SATA cables. And while the photo doesn’t really evidence it, the wires were all below flush and the side panel slid on without any cartoon-character-sitting-on-a-suitcase type shenanigans.
One other thought on the cabling subject: It was actually a good thing that I had to rewire the case, because it gave me a day to think about it while I was at work and I handled it completely differently. The first time I wired it up, I just grouped everything together and zip-tied it. It seemed like a good idea, but what if I need to change the power supply later, or the hard drive, and everything is tied together? So in the second run I routed and tied all the front panel wires first, then I routed and tied the fans, then I routed and tied the power cables, and the SATA cables went in without ties because I think they will be the most likely to need to be moved in the very near future. If anything else need replaced I should be able to change it without having to rewire the entire case.
So build one took me three nights at an hour and a half a night to complete from opening the first box to the latest windows updates being installed. Build 2 started at about 4:30 am on Sunday. The build took roughly 2 hours to complete, but I stopped after installing windows and the drivers because the front panel USB didn’t work. I would have kicked myself for not doing a full, powered external build except that the front USB isn’t something you are going to check during that process. The USB 3.0 passthrough was working, the audio and mic was working, the power and reset buttons were working, just not the USB. So rather than finishing up, I had to leave it for after some sleep.
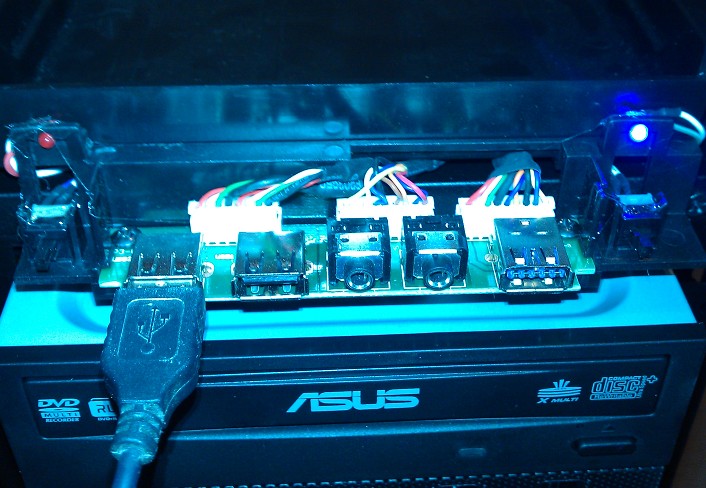
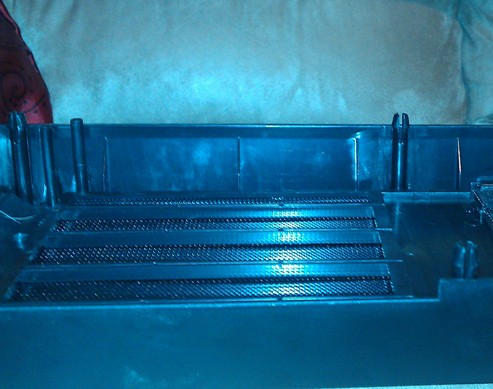 When I got back up to try to troubleshoot the USB problem, I searched google for anyone else having the same issue, and of course found nothing. But since I had no way to test the USB headers on the motherboard, I decided to check the front panel connections first. Unfortunately I couldn’t see what the hell was holding the front panel on, and any google search for the case with “front panel” in it just resulted in dozens of pages of the item description, which conveniently says, “Easy to remove front panel”, but doesn’t tell you how to remove it. Nor does the owner’s manual. Once I got out a flashlight I was able to chase down six of these little plastic clothespin looking things (two of which can be seen in the photo) that were holding it on. A quick job with some needle-nosed pliers and I finally had access to the front panel connectors:
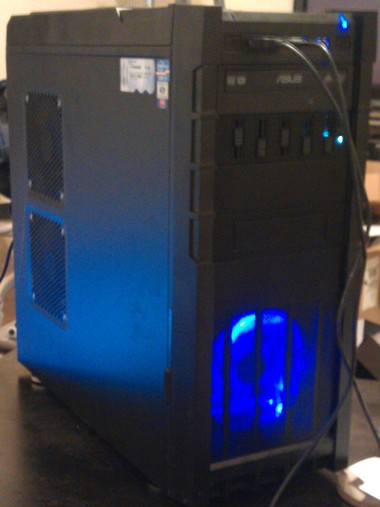 While it is hooked up in the photo, the USB connector was absolutely disconnected when I got the front panel off. I don’t know if it was that way from the factory or if my various routing maneuvers caused it, but I was certainly glad that all I had to do was plug it back in to get USB; I really didn’t want to have to rip the whole thing apart and RMA the motherboard or the case. Anyhow, each build took 3 to 3.5 hours including installing all drivers and latest windows updates. The finished product (one of them) is to the right here, complete with snazzy Intel core i3, Sapphire Radeon HD6850 and genuine windows stickers in place -for that professional look … or it would be if there was any way at all to fit the component stickers on the front panel or the genuine windows sticker on the chasis -which there simply is not. As you can see, this is a very plain little box. Previously I was very happy to have big, bright, shiny PC’s to showcase just how big my penis is, but all the LED’s and cold fusion lights in the world can’t increase your frame rate… Also worth noting that all those bright, shiny LED’s are a bitch to keep clean.
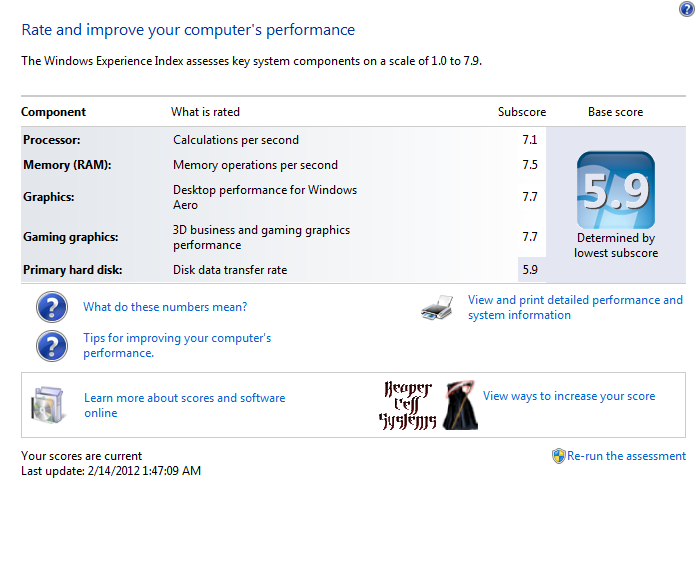
So once I had these things built and all the drivers in place, I had to run the Windows Experience Index to see where I was at, and was rather disappointed to see:
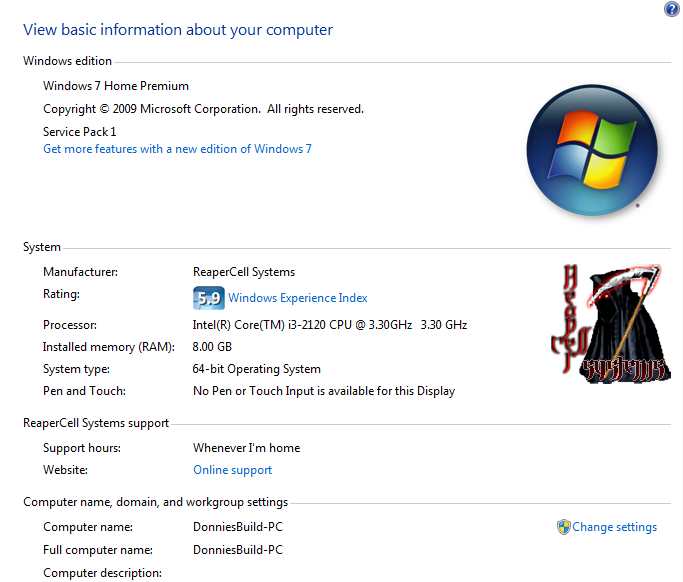
an experience index of 5.9. I know I wasn’t running premium parts, but my two year old pc has exactly the same rating! Further inspection shows that it’s not that bad:
Looking at the same page on my two-year-old PC, it has exactly the same thing crippling it: damn hard drive. But when you are putting together a 700(ish) dollar PC in February 2012, there’s no way you can go with a solid state drive with a reasonable amount of storage and a decent video card. But since the machines are primarily going to be used for playing games I think the rest of the ratings are pretty damn good for the budget. I am keeping an eye on SSD’s though, and as soon as I can get 120 gigs or better for a reasonable price I will probably jump on that -of course I will have to buy one for each machine.
And in case you are wondering, ReaperCell Systems is the company I invented just so I could put a cool logo on this thing (see, because the box is so plain it made me think of the ‘sleeper’ cars; old granny boats that some kids used to drive in high school. That made me think of ‘sleeper reaper’, but that is a game someone made already, plus it sounds too cutesy. That made me think of ‘sleeper cell’, which is also a game (and a tv show), but it made me think of ‘Reaper Cell’, and I like the way it sounds)… Because it was either that or a picture of me, and no one wants to see that.


