After being thoroughly disappointed with project ‘First Pancake’, I jumped right back on the horse. The new project is a Revell ’50 Olds Coupe
. This is a level three kit with a much higher piece count than the GTX, and it has a lot more detail. There are currently two versions of this model on the market, the one linked above and a ‘custom’ version of the same kit. I rolled the dice on this one, hoping it would have everything necessary to build it in a stock version and it does. It also has parts and decals to build it in a Pan American Rally version, though I certainly wouldn’t want to do so.

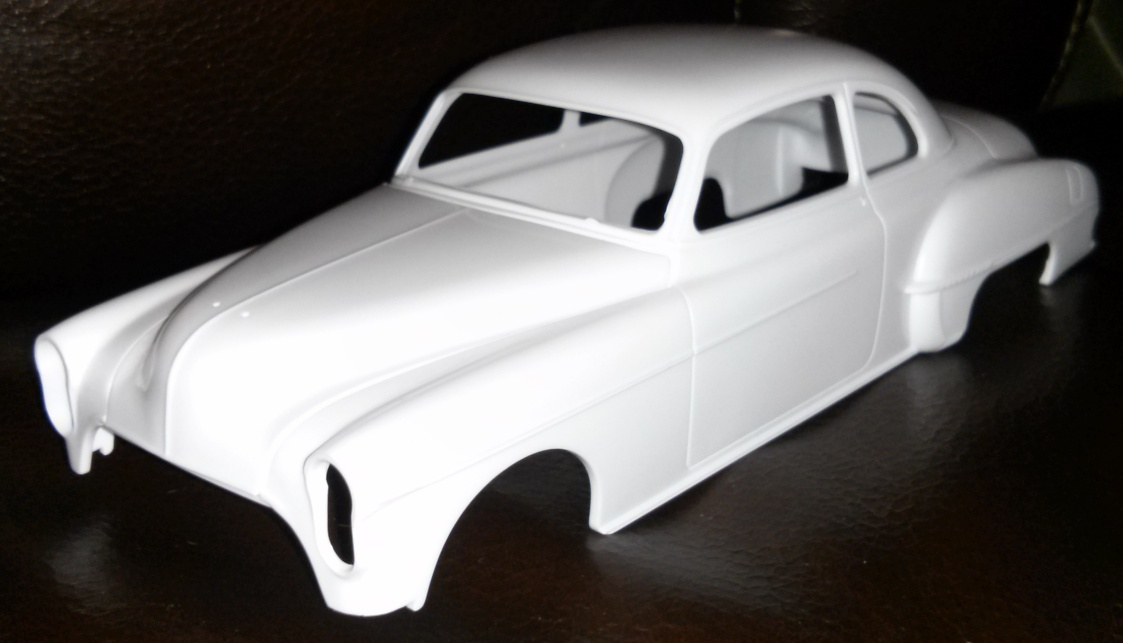 I sure wish the online retailers would include images of the boxes for models so you can read the details. In this case, the version I bought happened to be one of the ‘special edition’ kits with new tooling. I’ve read a lot of good things about the new tooling of these old kits and when I opened the box I was quite happy with the level of detail. The body had a lot of seams that had to be sanded -literally the first hour after opening the box was spent with an assortment of sanding sticks and files trying to remove them. The finished body can be seen to the right. While I know you won’t be able to see the amount of work that went into making the lines smooth, trust me when I say it took a lot of work, but the sleek and smooth finish was definitely worth it.
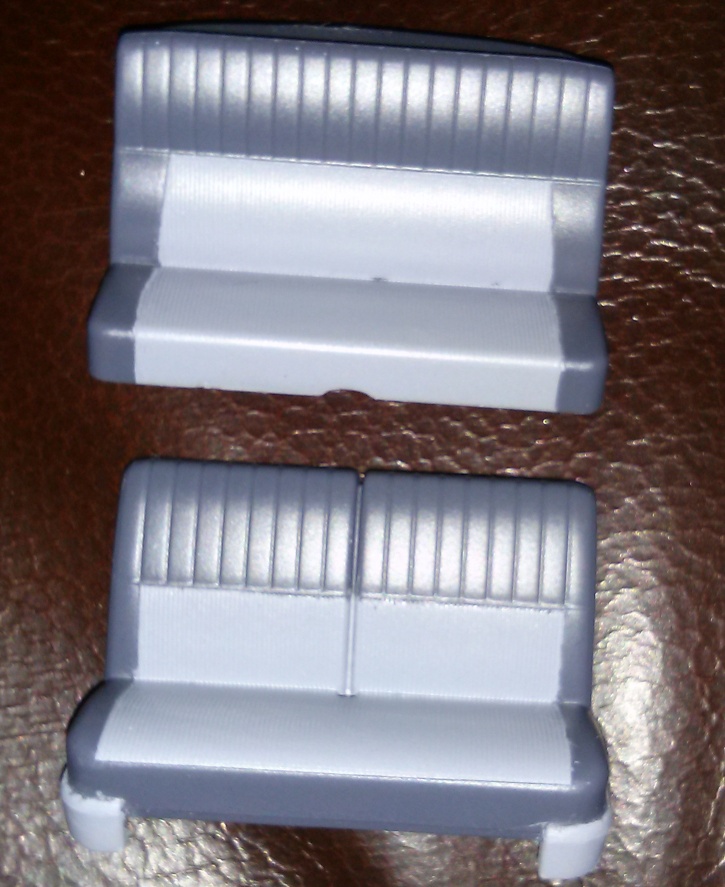 The first thing I attacked in this one is the interior, mostly because I am still waiting on paint for the body. I painted the seats and panels all in gray and then used some 10mm Tamiya Masking Tape
 to tape off a portion of the seats to do a two tone finish. The Tamiya tape is very thin, but very tacky and stuck very well to the paint -much better than off the rack masking tape. The resulting finish looks pretty darn good. There are a few blemishes which still need to be addressed, but overall I’m quite happy with how well I was able to get the paint edges. I have to do a similar finish to the door panels, but they also have several pieces of very, very small chrome trim which will need to be addressed. I’m still trying to figure out just how I’m going to do that…
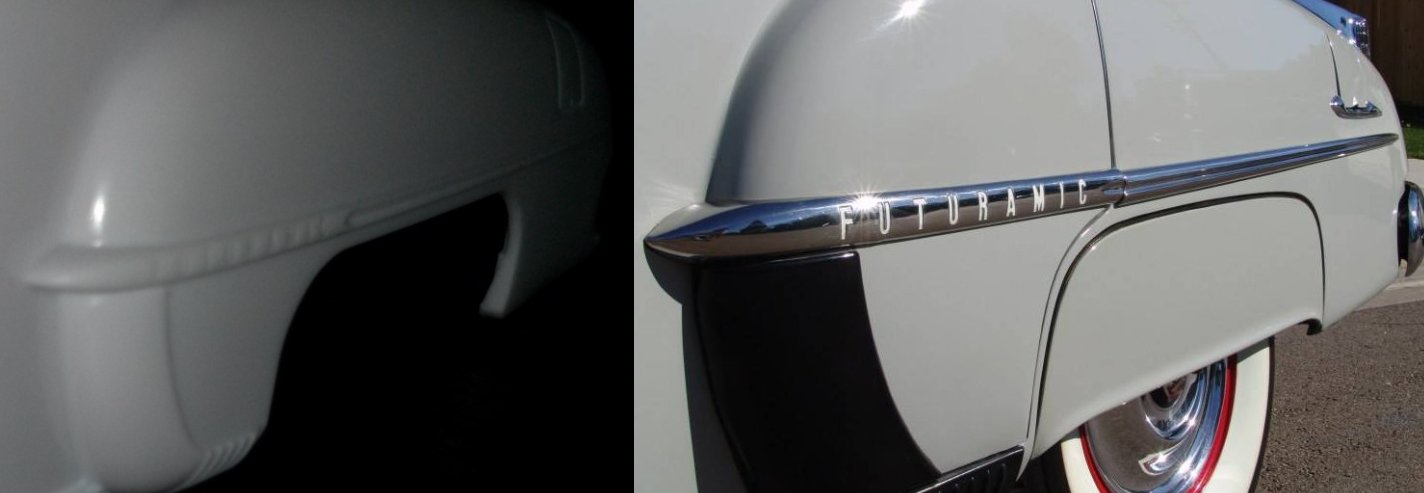
In the meantime, another issue that presented itself is because the kit is so detailed. Below you’ll see the rear fender of the model next to the actual car. The text “Futuramic” is etched into the chrome piece on the model and I want to make it look just like the finished version, but it is so very small I don’t know how I’m going to do it. When I figure it out, I’ll post it up here.