
A recent neck injury has kept me from working on this one for a while, but I finally got around to finishing the chassis. In my last update, I had the engine mounted to the chassis and needed only a few minor parts added to the suspension to complete it. Then I ran into a major problem with installing the exhaust. In this kit, the pipes lined up with the header fairly well. The problem was that after I installed the engine, part of the frame was pushing where the pipes needed to be. Because of the small area I was working in, there also wasn’t a way to get a clamp of any sort to hold it in place. If I tried to glue it into place, there was going to be a sharp angle where the pipe met the header, and that wasn’t going to look good at all. With a bit of reluctance, I decided that my best shot was going to be to remove the engine and mount the exhaust to it outside of the chassis. With my trusty X-acto, I cut through the glue holding the engine mount and transmission in place and removed the engine.
Even with the engine outside of the car, getting this exhaust lined up was still no small task. I had to line up one side, glue it, shim it in place with toothpicks and alligator clips and let it dry (I waited 24 hours) before moving on to the other side. After I was confident that the glue wasn’t going to fail if I touched it, I repeated the process on the other side. Here it is shimmed, glued and clipped together, all being held in place in my cheapy Helping Hands:
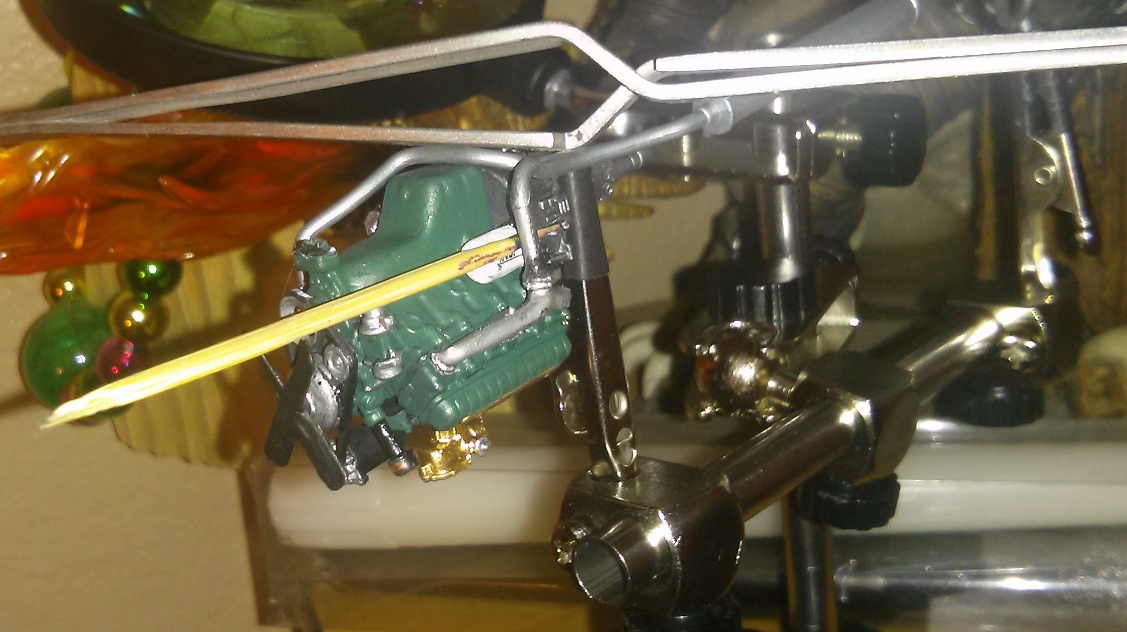
This is the second side, after the opposite side was already heavily glued and allowed to dry for 24 hours. You’ll see the transmission and exhaust held in place with the alligator clips, the toothpick to shim it so it lined up right, and a big pair of tweezers to weight it down. I put a lot of glue on this thing. I wasn’t a huge fan of doing it this way, mostly because trying to mount the engine with the exhaust already in place didn’t seem like it was going to be particularly easy. Once it was glued up and dried, though, it went in fairly easily.
Once that was in place, I still had to complete the suspension in the back. Some of these parts were very small and it wasn’t immediately apparent where they were supposed to connect. I ultimately got it all in place, but not without a bit of guess and check. It’s finished now. Here’s how it currently looks:
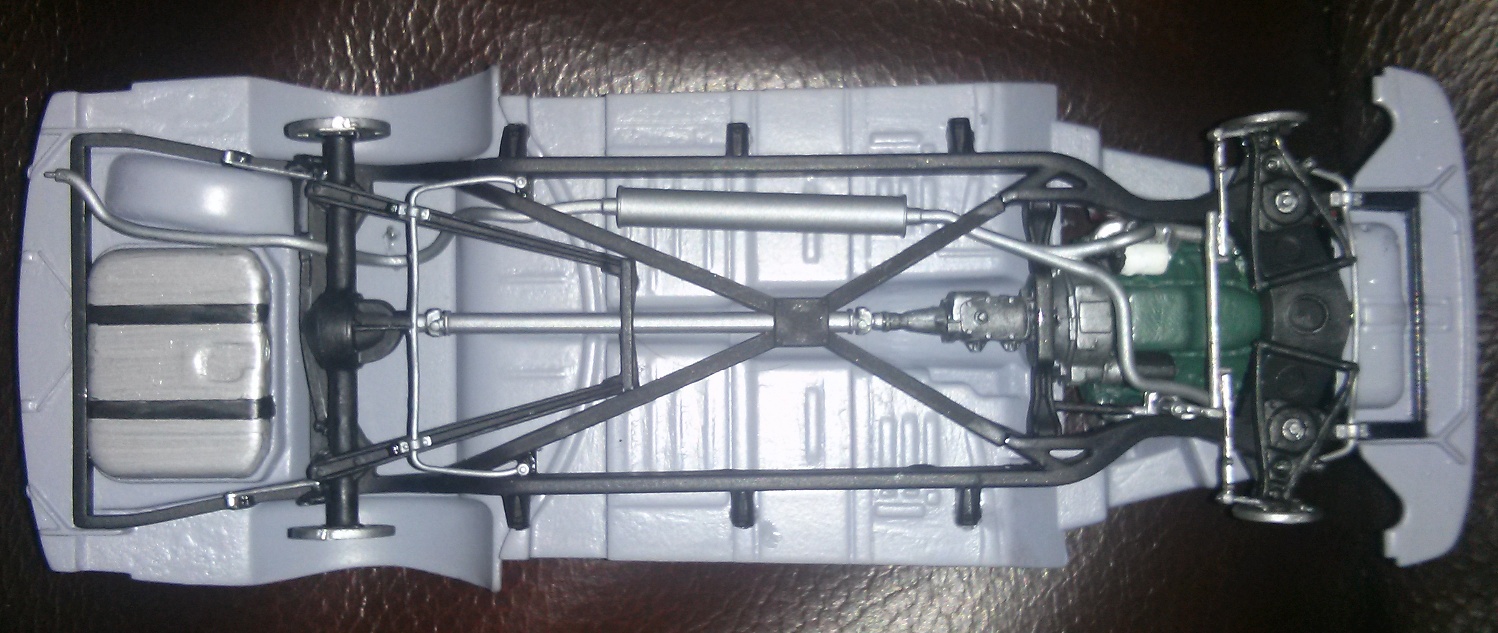
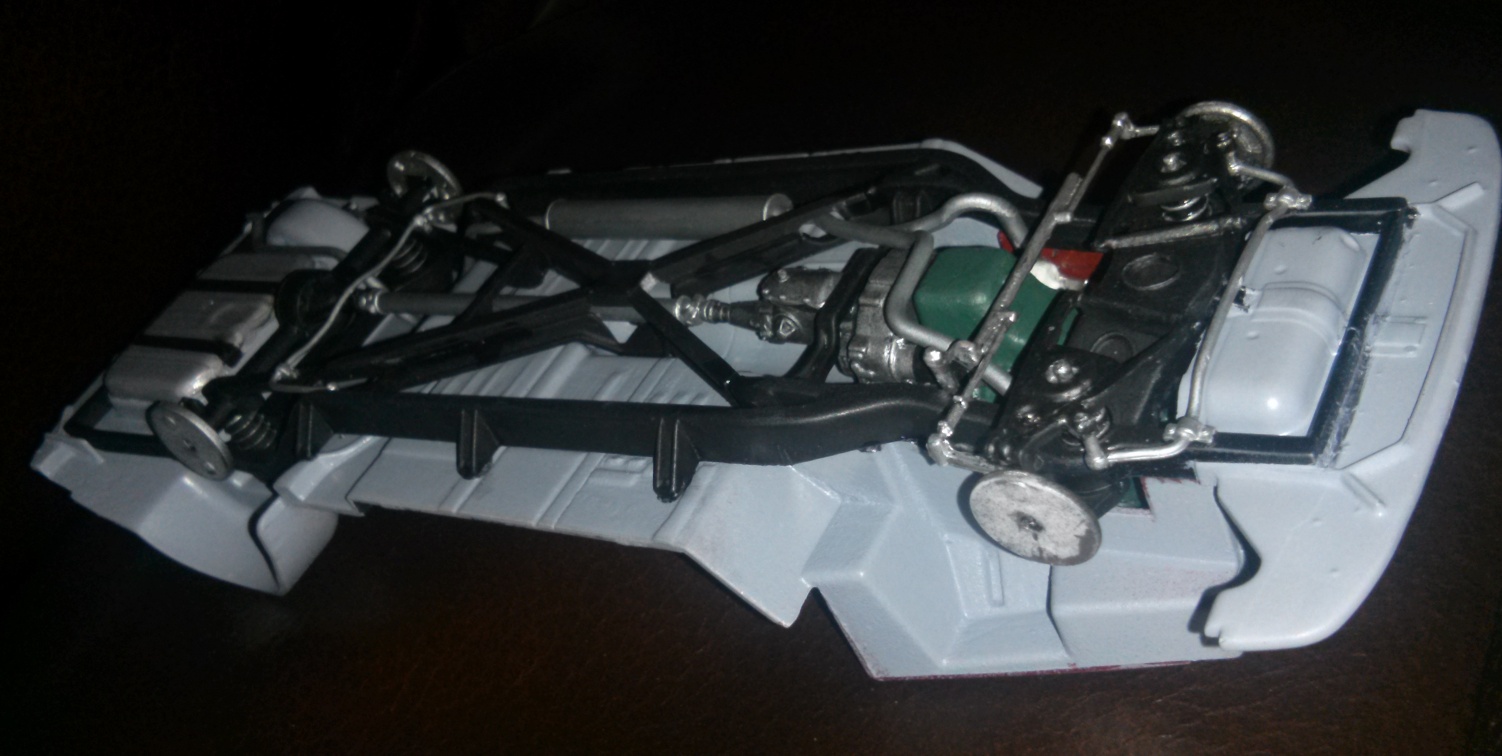
The camera is far more critical of it than my eye is, but still it looks pretty good. This particular kit has an incredible amount of detail on the underside, particularly when it comes to the suspension. That required painting some very small parts after everything was already glued in place (some were flat black per the instructions but seemed like they should be silver instead). I’m getting pretty good at doing that kind of stuff freehand, but it’s not without errors. Here is that from another angle:
Since I already have the interior mostly finished, there are only a dozen or so parts still left on the trees (not counting the chrome and clear). As far as assembly goes, I should have this thing together in a few more hours of working -which could take me weeks in real time.