
 The interior of the ’50 Olds Coupe
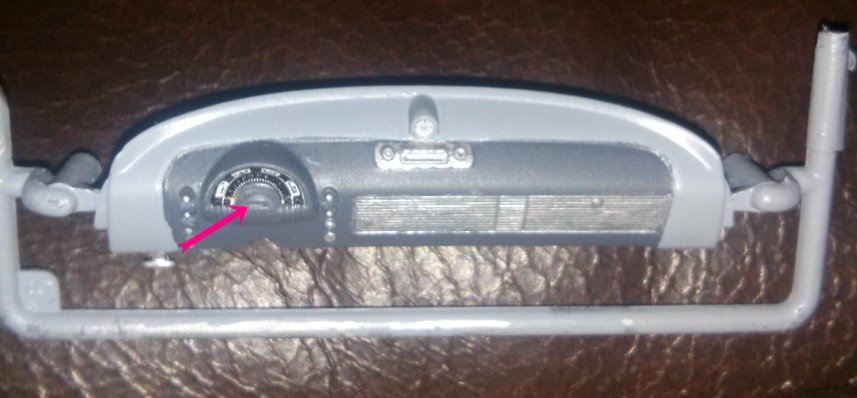
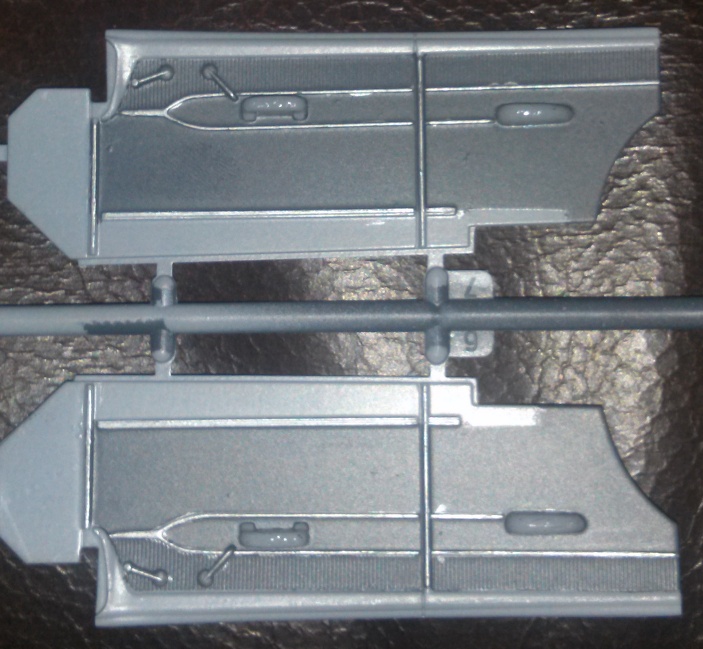
 is coming along nicely. In the last post, I showed the dashboard after doing some detail painting and using Micro Sol and Micro Set to apply the decals. I updated the photo after the decal applicator had done its job and I’m including it again to the right (still with a bright pink arrow pointing at the odometer that isn’t really visible to the naked eye). This is certainly far from perfection, but for a second shot at building a model, I think it looks pretty damn good.
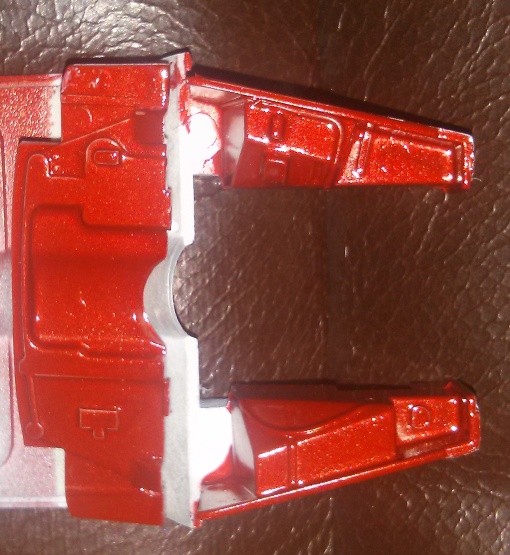 I’m continuing work on the interior, mostly because I am afraid to paint the body. After the issues I had painting the GTX, I’m not eager to fuck up the body paint and end up half-assing the rest of the project. The paint for this project is a Model Master Honduras Maroon
. This is one of the two step paints that requires a paint coat and a clear coat, or so it says. I’ve never used this type of spray before, so I’ve painted some of the non-essential pieces to get a feel for how the paint flows. I have to say that I’m doubting whether it will actually need a clear coat (I’m going to give it one anyway, but I don’t think it will be strictly necessary; I can see my reflection in it as it is). This color doesn’t photograph very well either. Every picture I snap makes it look almost fire-engine red, while the paint is actually much closer in hue to any one of these cars.
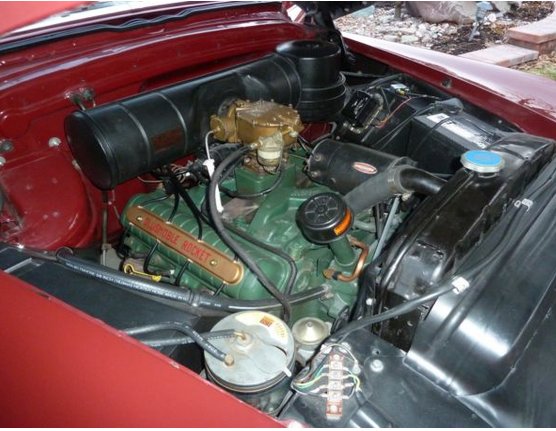 The color was by no means stock for the car in question, at least not by the name Honduras Maroon. The car was available in a color called Chariot Red, but none of the red paints I could find were anything close to the color chit for the car. Sixty-five years later, it’s difficult to imagine that any original automotive paint still exists on a ’50 Oldsmobile. I think the image to the right here is a pretty faithful representation of the stock color, and the Model Master Honduras Maroon lays down very close to that color (though it doesn’t seem to photograph in that color). Not that matching the exact color is a huge deal to me since I’m also planning to do it in two-tone with a black top, which also doesn’t appear to be stock. However, in looking at countless images of this car over the last few weeks, I think it looks much better that way.
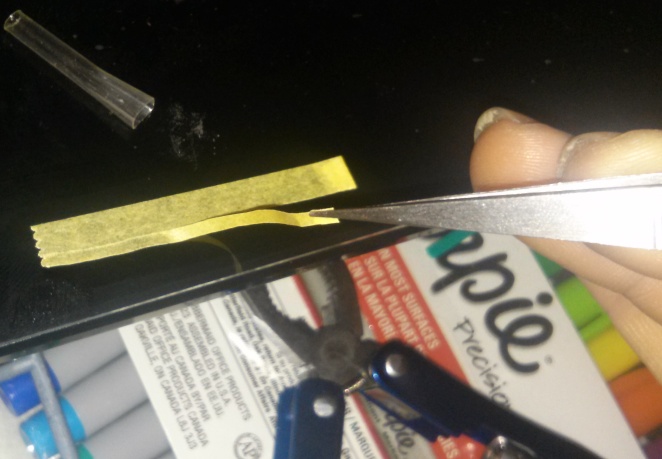 As for the interior, boy howdy was my OCD getting out of control. The dash now finished, I went back to try some of the sharpies on the door panels. Not trusting myself to be able to freehand it with any sort of accuracy, I started taping the panels off. During this process, I was taking 10mm tape and cutting it into fifths (the second strip of which I am removing from a piece with tweezers in the photo to the right) to try to match the curves as closely as possible. This was also necessary because the trim pieces were closer to each other than 10mm, so the tape was too wide without being cut. It took me no less than an hour to lay down a ridiculous amount of tape around all the trim. The good news is that once the tape was down, I spent all of twenty seconds painting it with a metallic sharpie. The results of those processes can be seen below:
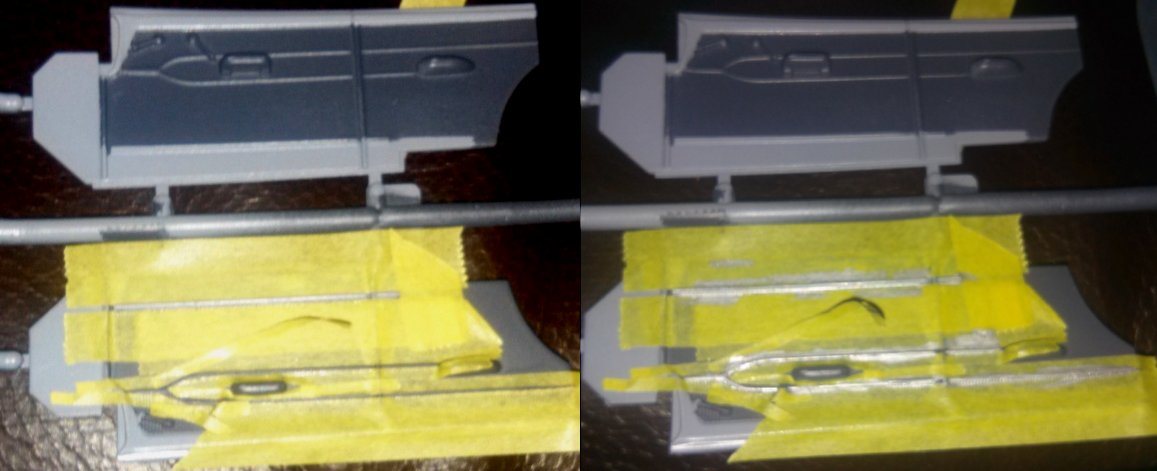
And so, with full confidence in my exemplary taping job, I knew it was going to be perfect. I played a drum roll in my head and peeled away the paint to find… mediocrity.
 In truth, I began to suspect that my results wouldn’t be ideal even as I was laying down the tape. One of the truths I learned early in computer programming was that if you have to try way too hard to do something, you’re probably doing it wrong. Such was the case with taping off this door. The tape didn’t mask nearly as well as I hoped it would, so I had some small areas where it seeped into the dark paint. I sat looking at the finished product and thought I could have done just as well freehand. I put that theory to the test. At right, you will see both panels with the trim painted silver. The bottom one was done with an hour’s worth of careful taping with tweezers and toothpicks. The top one was down with about three minutes of careful manipulation of a marker. Looking at them, I think the freehand one looks slightly better, but both have many issues. At the same time as doing the freehand trim on the top panel, I also did the window rollers and door handles in freehand. The flash hides most of it, but those also look fairly good.
I’ll be able to make them look a bit better on Friday when my bottle of Model Master Schwarzgrau RLM 66 paint arrives, because, like the lesson I learned in the previous build, you need to have a bottle of any color that you have in aerosol for touch-up.
With the major portions of the interior done, and still waiting on the engine paint, there’s not a lot more I can do other than take a crack at painting the body. Hopefully this whole thing won’t go off the rails when I try.